Important This documentation pertains to the old version of MountainSort and MountainLab. Please visit https://github.com/flatironinstitute/mountainsort_examples/blob/master/README.md for the newer version of MountainSort, or see https://github.com/flatironinstitute/mountainsort/blob/master/README.md for updated information about the different versions.
(Old) MountainSort Documentation
MountainSort is spike sorting software developed by Jeremy Magland, Alex Barnett, and Leslie Greengard at the Center for Computational Biology, Flatiron Institute in close collaboration with Jason Chung and Loren Frank at UCSF department of Physiology. The algorithm was featured in
MountainSort is a plugin package to MountainLab, a general framework for scientific data analysis, sharing, and visualization.
Getting started with MountainSort
There are various ways to install and/or use MountainSort. The best choice will depend on how you plan to interact with the program. You can use MountainSort…
- as a plugin package to MountainLab (ML)
- from the web interface (cloud computing)
- as a standalone program
Below, we will describe installation as a plugin to ML (recommended), and the remarks below will indicate how it could be used as a standalone program. Documentation about using the web framework will come soon.
Supported operating systems
Ubuntu 16.04 is the currently supported development platform. Other Linux flavors should also work. Currently, Mac and Windows are not supported.
If you do not have a linux machine available, we recommend setting up an Ubuntu virtual machine.
Installation
The following instructions are for installing MountainSort on Ubuntu 16.04 (recommended). Installation instructions requiring compilation can be found here.
add-apt-repository -y ppa:magland/mountainlab
apt update
apt install mountainlab
apt install mlpipeline
apt install mountainsort
apt install mountainview
Caution: If you have python3 already installed using a tool such as miniconda, then you should make sure that miniconda/bin is not in your path. The above packages will install python3 as a Ubuntu package.
Note: There may be a subtle bug in numpy version 1.11 (default installed on Ubuntu 16.04), so the following additional steps are recommended to upgrade to a later version of numpy:
apt install python3-pip
pip3 install numpy
Once installed, run the following to choose a temporary directory path. This is where MountainSort will store large intermediate files during processing. Put it somewhere with space.
mlconfig
Periodically you can run the following to get the most up-to-date packages
apt update
apt upgrade mountainlab mlpipeline mountainsort mountainview
Testing the installation
The first thing to try is
mp-list-processors
This will list the mountainlab processors installed on your system. For example, you should see “ms3.bandpass_filter”, “ms3.whiten”, and “mountainsortalg.ms3alg”. These are among the core steps of the MountainSort spike sorting pipeline.
Next, to get an idea for how processors work, try
mp-spec ms3.bandpass_filter
This will give the specification (inputs/outputs/parameters) for this particular processor.
Next, try the examples in the mountainsort_examples repository
1. Clone the examples repo:
git clone https://github.com/flatironinstitute/mountainsort_examples
cd mountainsort_examples/examples/example1_mlp
2. Simulate data for the test:
mlp-run synthesize_v1.mlp synthesize --timeseries=data/raw.mda --geom=data/geom.csv --waveforms_true=data/waveforms_true.mda --_params=params_synth.json
This will generate test raw data ‘raw.mda’, geometry data ‘geom.csv’, and waveform data ‘waveforms_true.mda’ in the current directory. The file synthesize_v1.mlp represents a processing pipeline, and “synthesize” is the single exported subroutine. To view and/or edit this pipeline use the following command to launch the mlpipeline GUI:
mlpipeline synthesize_v1.mlp
3. Sort the test data
You will now call the mountainsort3 sort pipeline, passing it the newly-created raw data ‘raw.mda’ and geometry data ‘geom.csv’. You will also tell it what to call the output firings, ‘firings.mda’. Finally, you will pass it parameters, already in the directory, ‘params.json’.
mlp-run mountainsort3.mlp sort --raw=data/raw.mda --geom=data/geom.csv --firings_out=data/firings.mda --_params=params.json
As in the previous step, mountainsort3.mlp is a processing pipeline with a single exported subroutine called “sort”. You can edit this using:
mlpipeline synthesize_v1.mlp
4. View the test sorting
The GUI only requires a timeseries, in this case raw data, ‘raw.mda’, and the firings information (times/labels), ‘firings.mda’. We can also pass it the geometry information and samplerate.
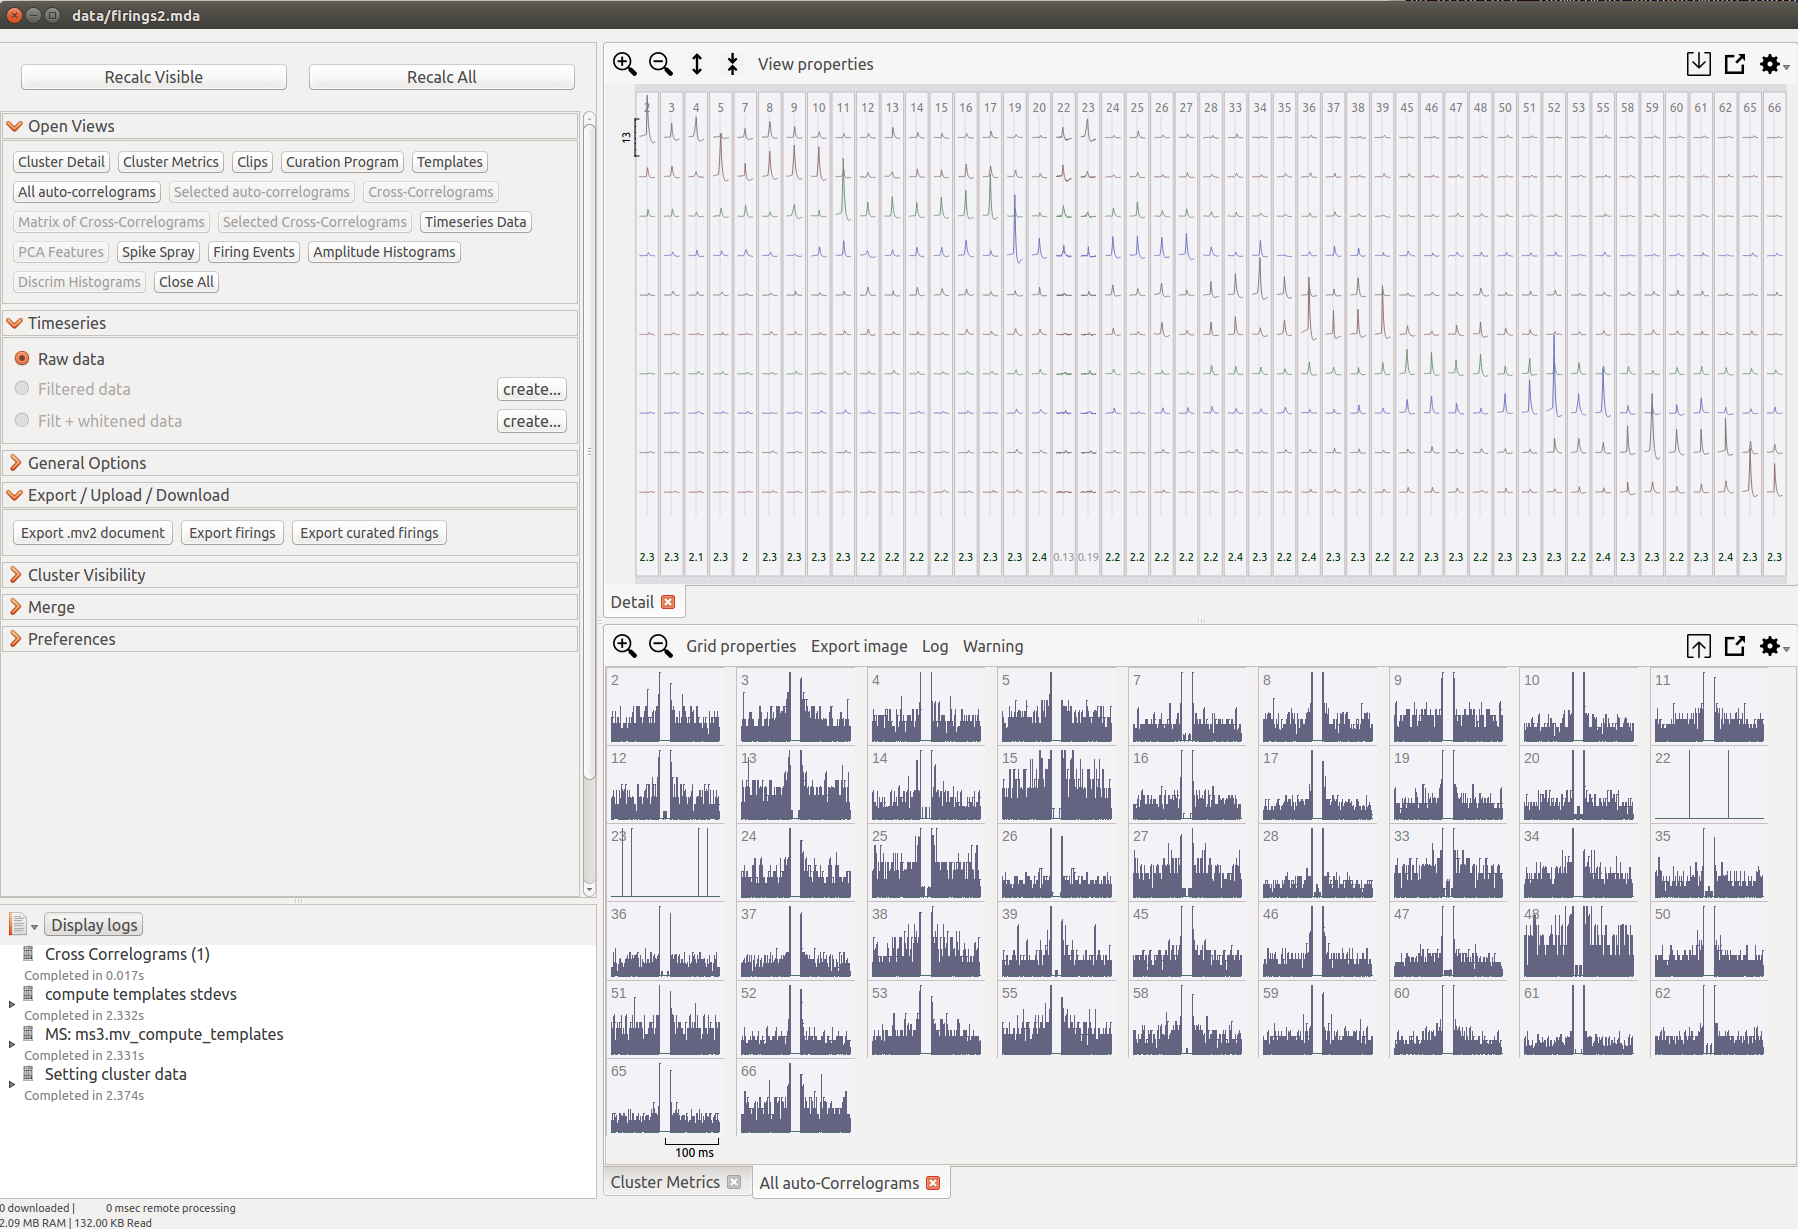
mountainview --raw=data/raw.mda --firings=data/firings.mda --geom=data/geom.csv --samplerate=30000
5. Re-sort the data with automated curation (masking of low-quality clusters and bursting-related merging)
This time, you will add the automated curation option, ‘–curate=true’. This will mask out low-quality clusters and do bursting-related merging.
mlp-run mountainsort3.mlp sort --raw=data/raw.mda --geom=data/geom.csv --firings_out=data/firings2.mda --_params=params.json --curate=true
6. View the curated test sorting
mountainview --raw=data/raw.mda --firings=data/firings2.mda --geom=data/geom.csv --samplerate=30000
Note that sorting low signal-to-noise ratio data with relabeling may result in there being no apparent clusters (all clusters are of low quality). For this reason, we suggest first sorting your data without curation.
You are now ready to sort your own data Sorting your own data